Home / Walkthrough / Chapter 4
Viewfinder Chapter 4 Walkthrough (Mirren)
Mirren has 17 main levels and five optional ones: 3.1, 4.1, 5.1, 8.1, and 9.1. Not four.
Choose a column heading to sort. Search checks every column.
| Level | Station | Optional | Collectible | Achievement | Status | Guide |
|---|---|---|---|---|---|---|
| 1.1 | Mirren | No | Mars | — | 3 sources | Chapter solution guide |
| 1.2 | Mirren | No | — | — | 2 sources | Chapter solution guide |
| 1.3 | Mirren | No | — | — | 2 sources | Chapter solution guide |
| 2.1 | Mirren | No | — | — | 2 sources | Chapter solution guide |
| 2.2 | Mirren | No | Neptune | — | 3 sources | Chapter solution guide |
| 2.3 | Mirren | No | — | — | 4 sources | Chapter solution guide |
| 2.4 | Mirren | No | Pluto | — | 3 sources | Chapter solution guide |
| 6.1 | Mirren | No | — | — | 2 sources | Chapter solution guide |
| 6.2 | Mirren | No | — | Scream Orchestra | 3 sources | Chapter solution guide |
| 6.3 | Mirren | No | — | — | 2 sources | Chapter solution guide |
| 6.4 | Mirren | No | Jupiter | — | 3 sources | Chapter solution guide |
| 6.5 | Mirren | No | — | — | 2 sources | Chapter solution guide |
| 6.6 | Mirren | No | Saturn | Green is not a creative colour | 3 sources | Chapter solution guide |
| 7.1 | Mirren | No | — | — | 2 sources | Chapter solution guide |
| 7.2 | Mirren | No | — | — | 2 sources | Chapter solution guide |
| 7.3 | Mirren | No | Uranus | — | 3 sources | Chapter solution guide |
| 7.4 | Mirren | No | — | — | 2 sources | Chapter solution guide |
| 3.1 | Mirren | Yes | Venus | — | 4 sources | Chapter solution guide |
| 4.1 | Mirren | Yes | — | — | 4 sources | Chapter solution guide |
| 5.1 | Mirren | Yes | Earth | — | 3 sources | Chapter solution guide |
| 8.1 | Mirren | Yes | Mercury | — | 3 sources | Chapter solution guide |
| 9.1 | Mirren | Yes | — | Michelangelo | 3 sources | Chapter solution guide |
Use the level table to jump to a room, check its collectible, and open the cited full walkthrough. The routes below summarize the chapter’s main mechanics; detailed hint pages are linked where available.
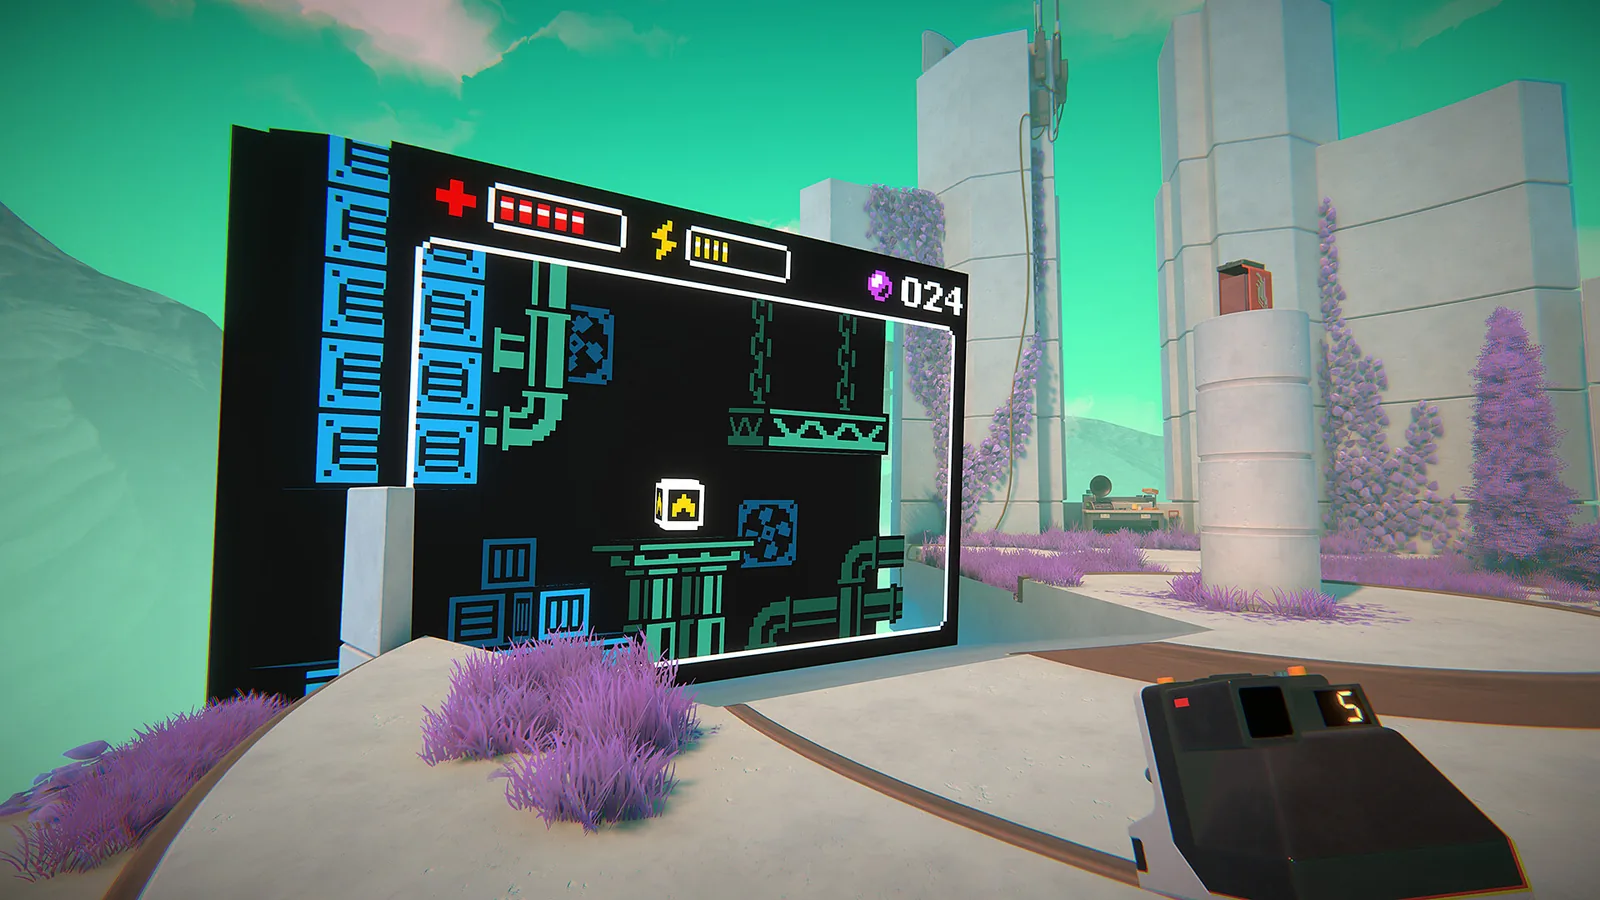
The new rule in 1.1 is blue-violet material: the camera cannot record it and a photo cannot erase it. Mars is the planet in that opening room. 1.2 uses a Rubik’s cube as a step. 1.3 is a darkroom with two platform photographs. The 2.x set is battery work: 2.1 duplicates a battery across five photos, 2.2 is the battery cage with Neptune, 2.3 is the telescope through the violet wall, and 2.4 turns a teleporter photograph into the battery you need, with Pluto nearby. If your 2.3 shows a speaker, you are on the shifted GamesRadar index; the sound rooms on this page are 6.1 through 6.6, and the telescope solution has its own page.
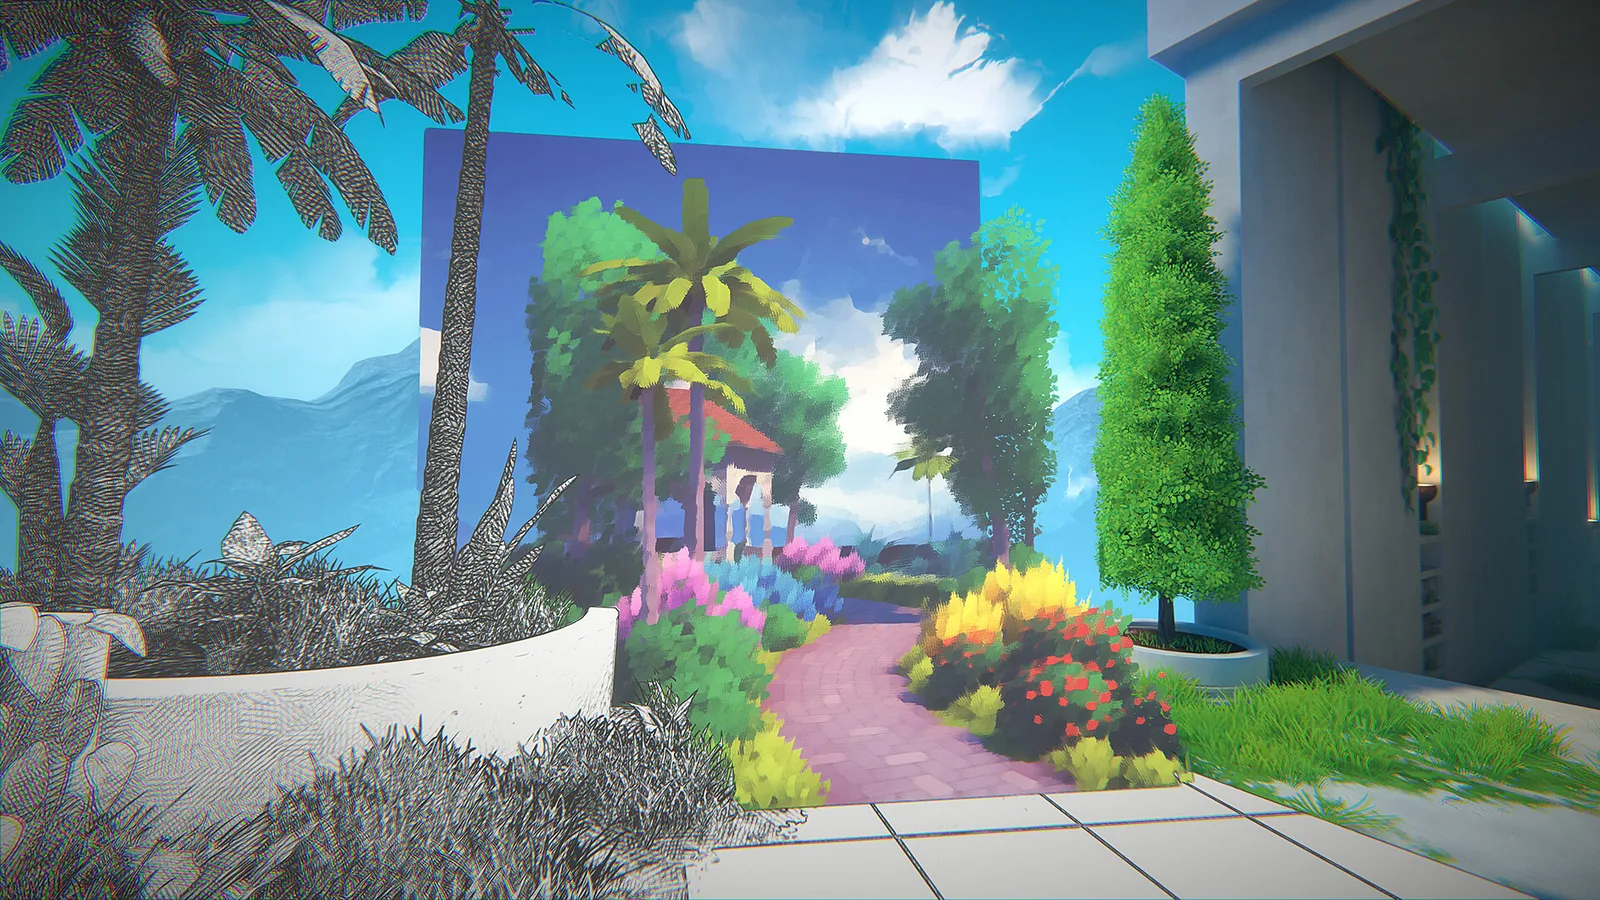
Optional 3.1 is the first optional challenge: film and a caged battery, Venus on the left wall, Painting filter. Optional 4.1 is the second: a parallel path and the Rainbow filter, with no planet. Optional 5.1 is the photocopy path, Earth, and the Photocopied filter. I keep those three distinct because GamesRadar’s “optional challenge 1” is this page’s 4.1, and its “optional challenge 2” is 5.1. Mapping the English nickname “first optional challenge” onto 3.1 follows IGN, intoindiegames, and the Steam guide, not the GamesRadar label.
6.1–6.6 are radios, speakers, and receivers on timers. Jupiter is in 6.4 and Saturn in 6.6, where the green pencil achievement also lives. 7.1–7.4 walk into frames. Uranus is in 7.3. 7.4 is the Weather Disrupter, and it fails; that is the story beat, not a second puzzle nickname I can prove. Optional 8.1 is the fence bridge with Mercury and the Sketched filter. Optional 9.1 is the watermelon on a scale and the Watermelon filter. Nine planets in total: Mars, Neptune, Pluto, Venus, Earth, Jupiter, Saturn, Uranus, Mercury. “I didn’t planets for this to happen” is the set.
Questions
How many optional levels are in Chapter 4?
Five: 3.1, 4.1, 5.1, 8.1, and 9.1. IGN and the Steam guide both list five.
Is 2.3 the sound puzzle?
On the in-game numbering, 2.3 is the telescope and violet wall. Sound sensors are 6.1–6.6.
Sources
- IGN — Chapter 4 — checked 2026-10-31
- intoindiegames — Chapter 4 — checked 2026-10-31
- GameRant — planets — checked 2026-10-31
- Steam 100% guide — checked 2026-10-31